Creating gifs
If a picture is worth a thousand words, an animation can be worth even more! Sometimes a screenshot isn’t enough to illustrate a feature, but you don’t want to create a full-on demo movie. For a tweet-sized demo you just need a gif…
UPDATE: Interesting read: The gif is dead long live the gif.
First step is to create a short movie. We at OME use Snapz Pro. When taking movies for gifs, you can use a relatively low framerate such as 5 frames per second.
Then you can convert the movie to a gif. I’ve tried a couple of different approaches as described below.
Photoshop
If you want to edit the animation, you can pick and choose your frames and their timing using Photoshop. This also gives you the ability to add any other annotations or edits to the images.
First you need to convert your movie to a series of images. We can use ffmpeg to do this as described:
$ ffmpeg -i SnapzPro001.mov image%d.png
Now you need to pick the frames you want and compile them in Photoshop. Open the first image in Photoshop, then add the other images as extra layers. Open the “Animation” window and create new animation frames with each frame showing a sequential layer.
This allows you to tweak the timing of each frame and to cut parts of your original aimation as desired. However, it is quite time consuming and takes a bit of trial and error to get a nice result. You can use the Play button on the Animation window to preview your gif as you go, then export it with File > Save for Web & Devices…
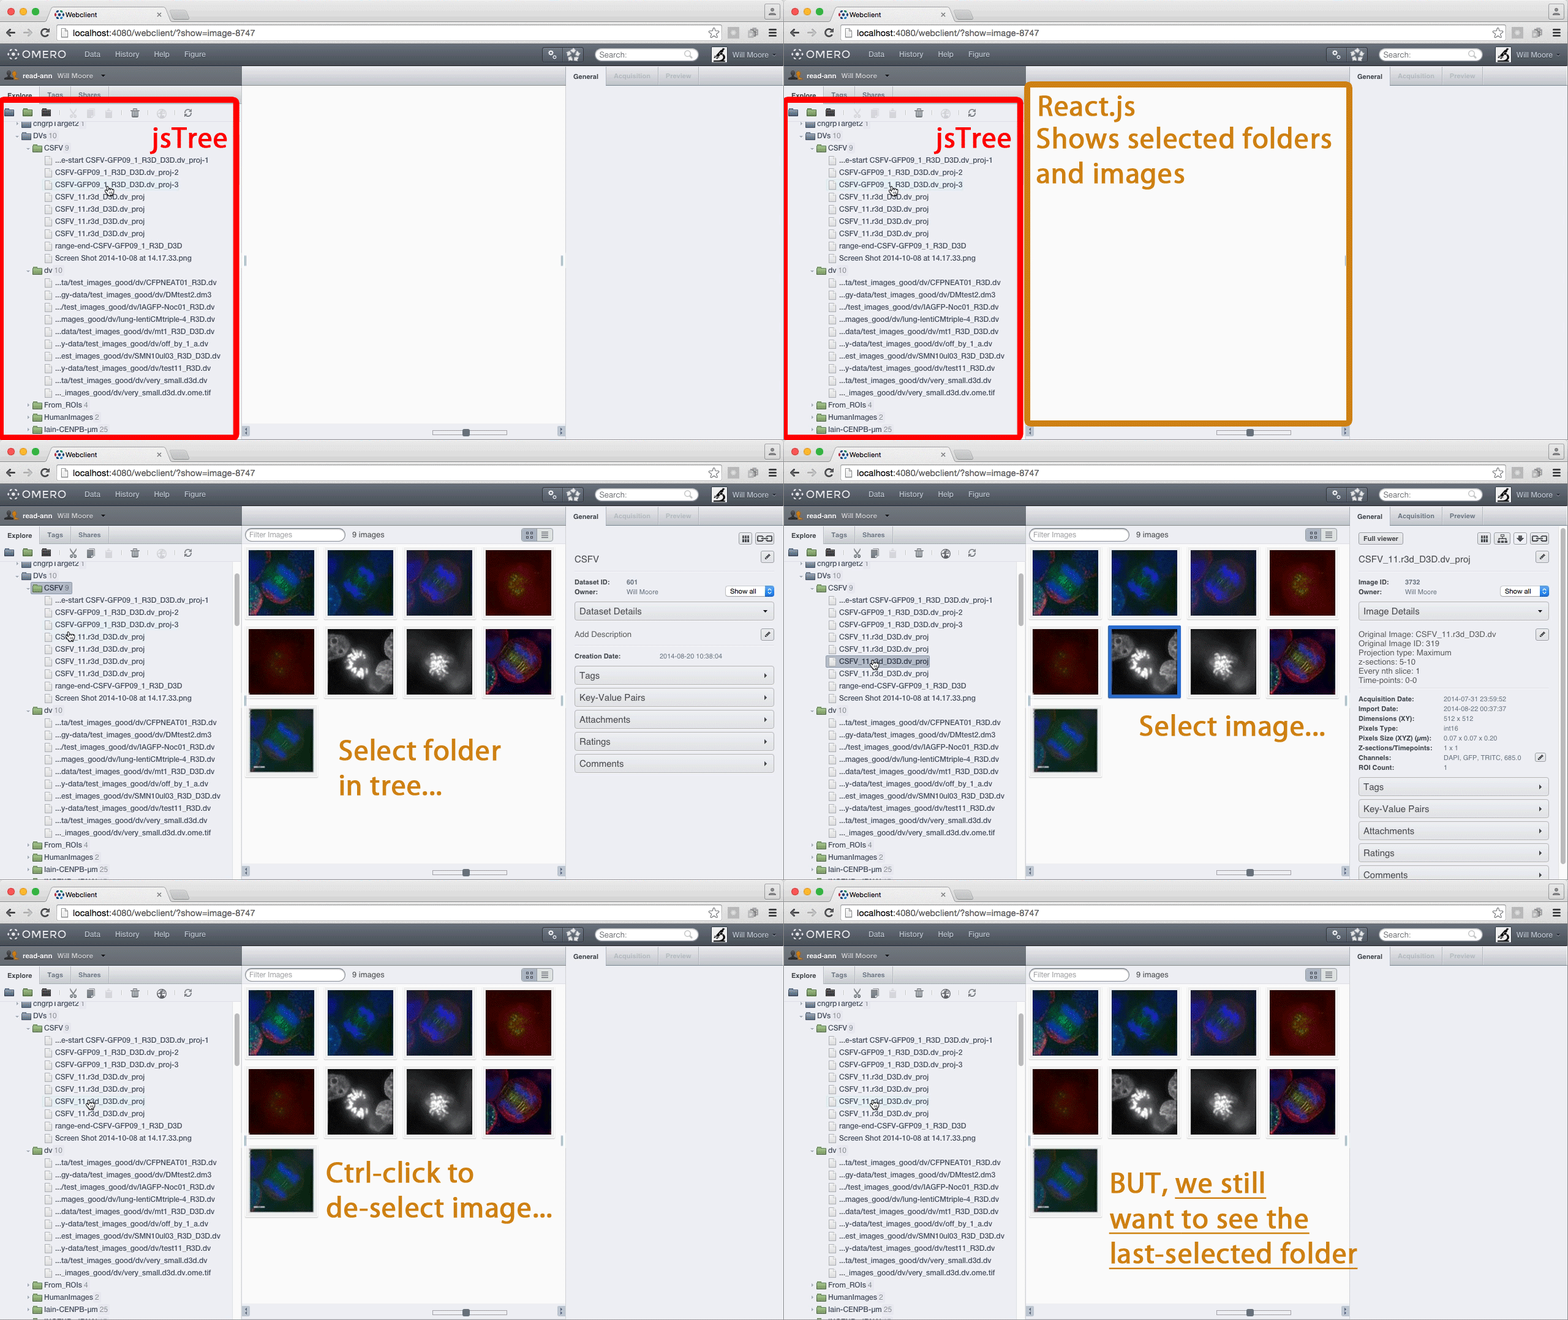
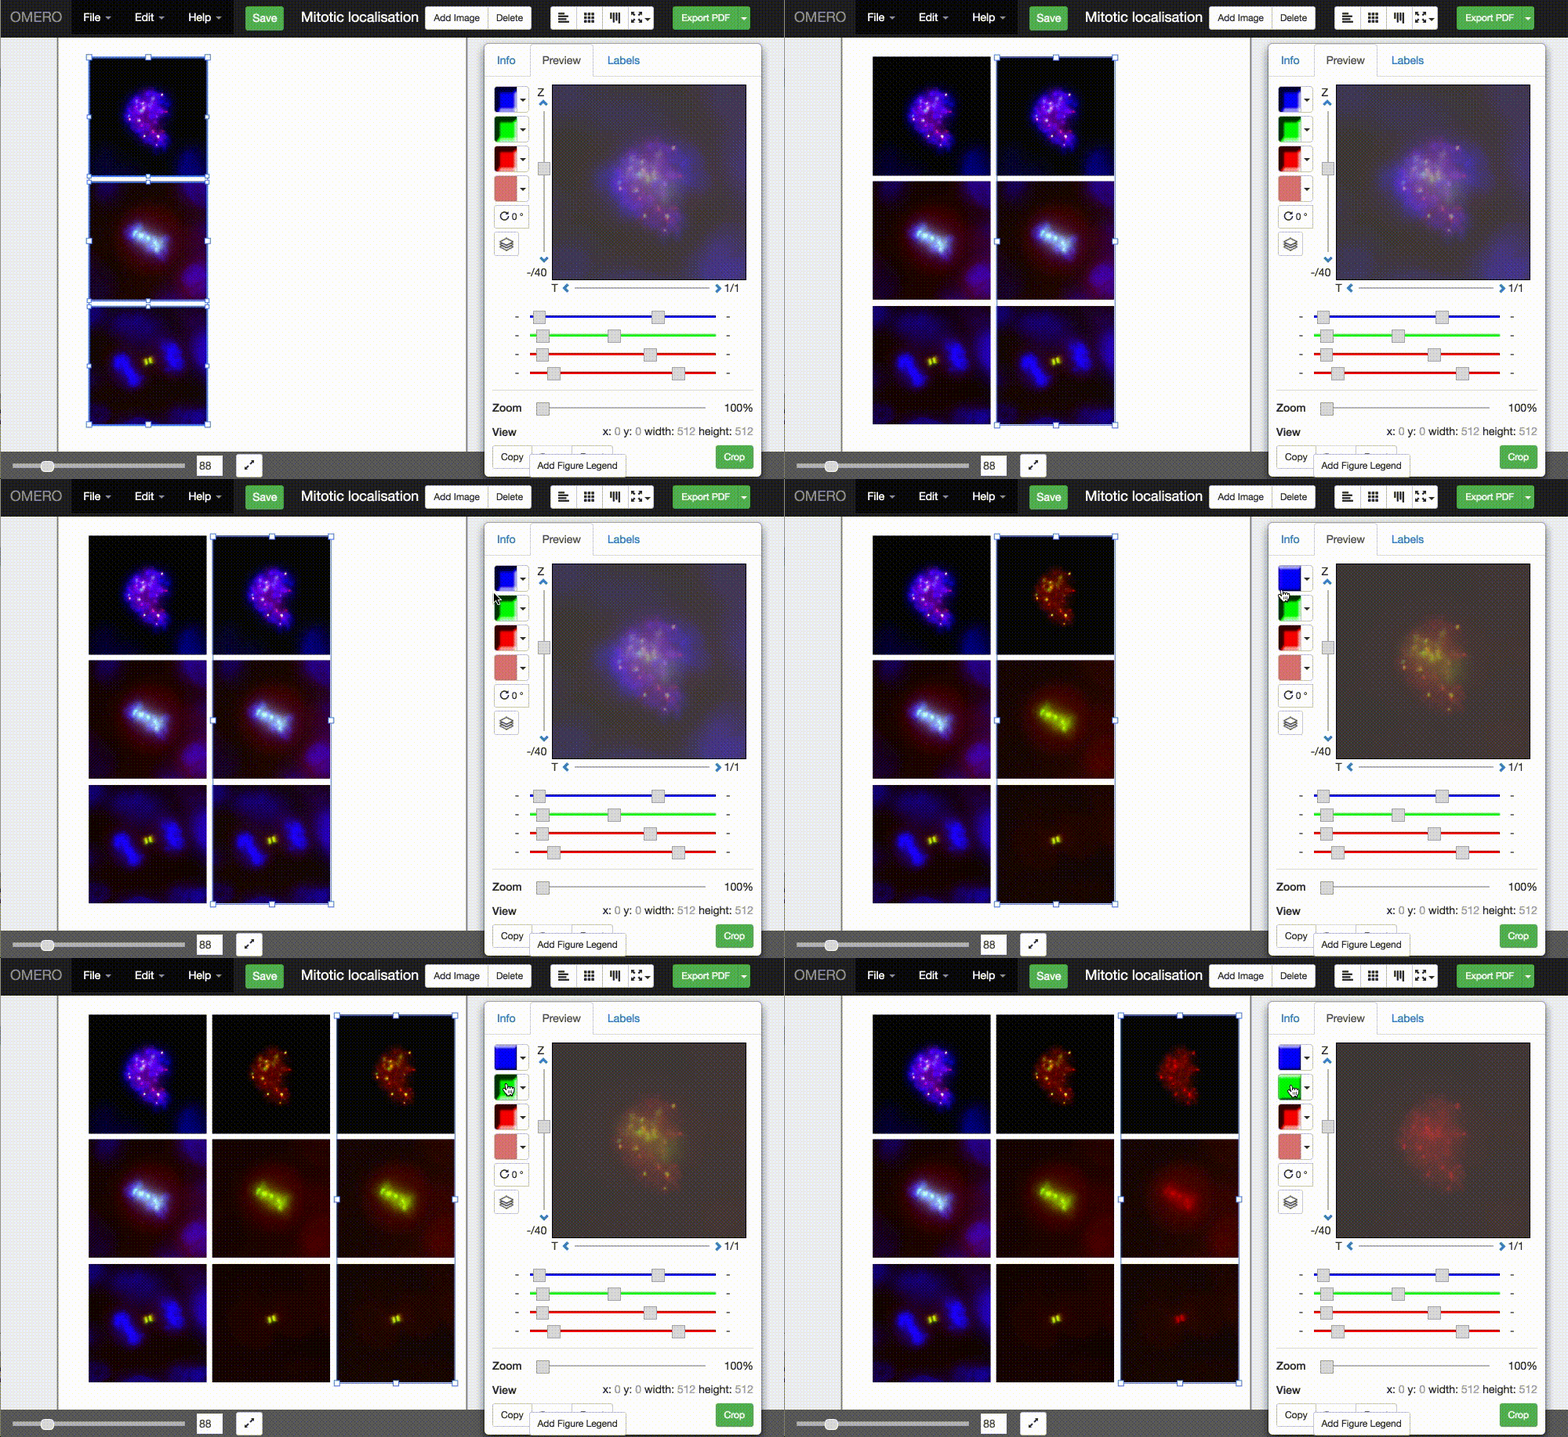
Here’s one I created using this method for a previous blog post.

Sometimes you might make a gif as part of the design process, using a small number of mock-up screenshots in Photoshop instead of starting from a movie. Here’s one I created for a recent design discussion:

ffmpeg
Starting from a movie again, we can use a number of command-line tools to convert to the .mov to gif.
This Stack Overflow answer uses ffmpeg to first generate a palette
from the movie and then use it to generate the gif:
# skip 1 sec, duration 3 secs:
$ ffmpeg -y -ss 1 -t 3 -i SnapzPro001.mov -vf fps=10,palettegen palette.png

$ ffmpeg -ss 1 -t 3 -i SnapzPro001.mov -i palette.png output.gif

mplayer, imagemagick and gifsicle
Following the workflow on
this blog post,
we can use mplayer to convert the movie to png images, mogrify (from imagemagick)
to convert the pngs to gifs and gifsicle to create the animation:
# no audio, skip 1 sec, duration 3 secs, output to png/*.png dir,
$ mplayer -ao null -ss 0:00:01 -endpos 3 -vo png:outdir=png SnapzPro001.mov

# in the png/ dir, convert all pngs to gifs
$ cd png && mogrify -format gif *.png

# 20 hundredths of a second delay per frame (5 fps)
$ gifsicle --colors=256 --delay=20 --loopcount=0 --dither -O3 *.gif > animation.gif

The last 2 steps above can also be handled by the convert command from imagemagick
as discussed in this stackexchange question.
# 20 hundredths of a second delay per frame (5 fps)
$ convert -delay 20 -loop 0 *.png animation.gif

If you need to resize the png images before creating a gif, you can use imagemagick’s mogrify command.
# Resize all pngs to 50%
$ mogrify -resize 50% *.png
Conclusion
If you need to create or edit your movie frames in Photoshop, then it’s gif preview and export functionality is very nice and it’s all you need.
However, if you’re doing a regular conversion from movie to gif then the command line tools are much more efficient and avoid any manual steps.
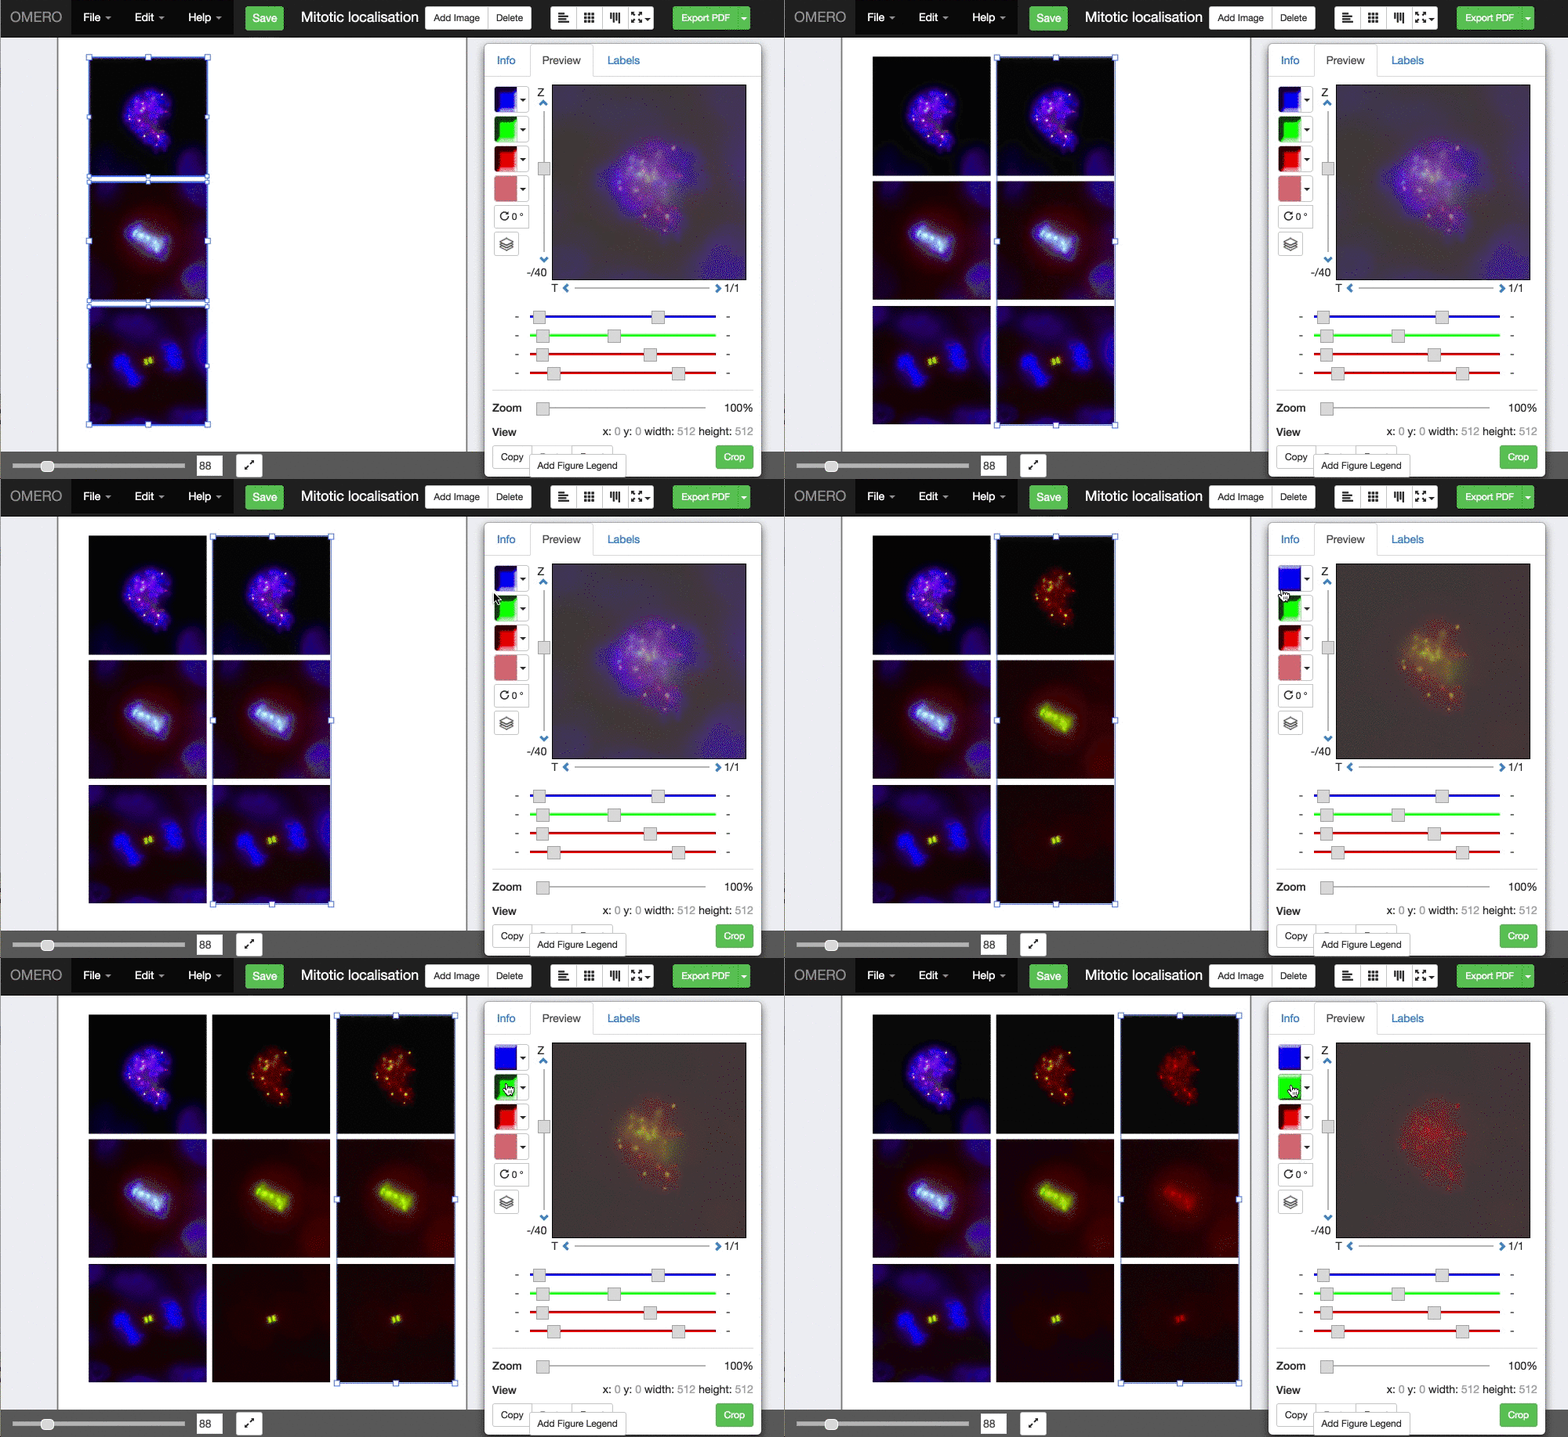
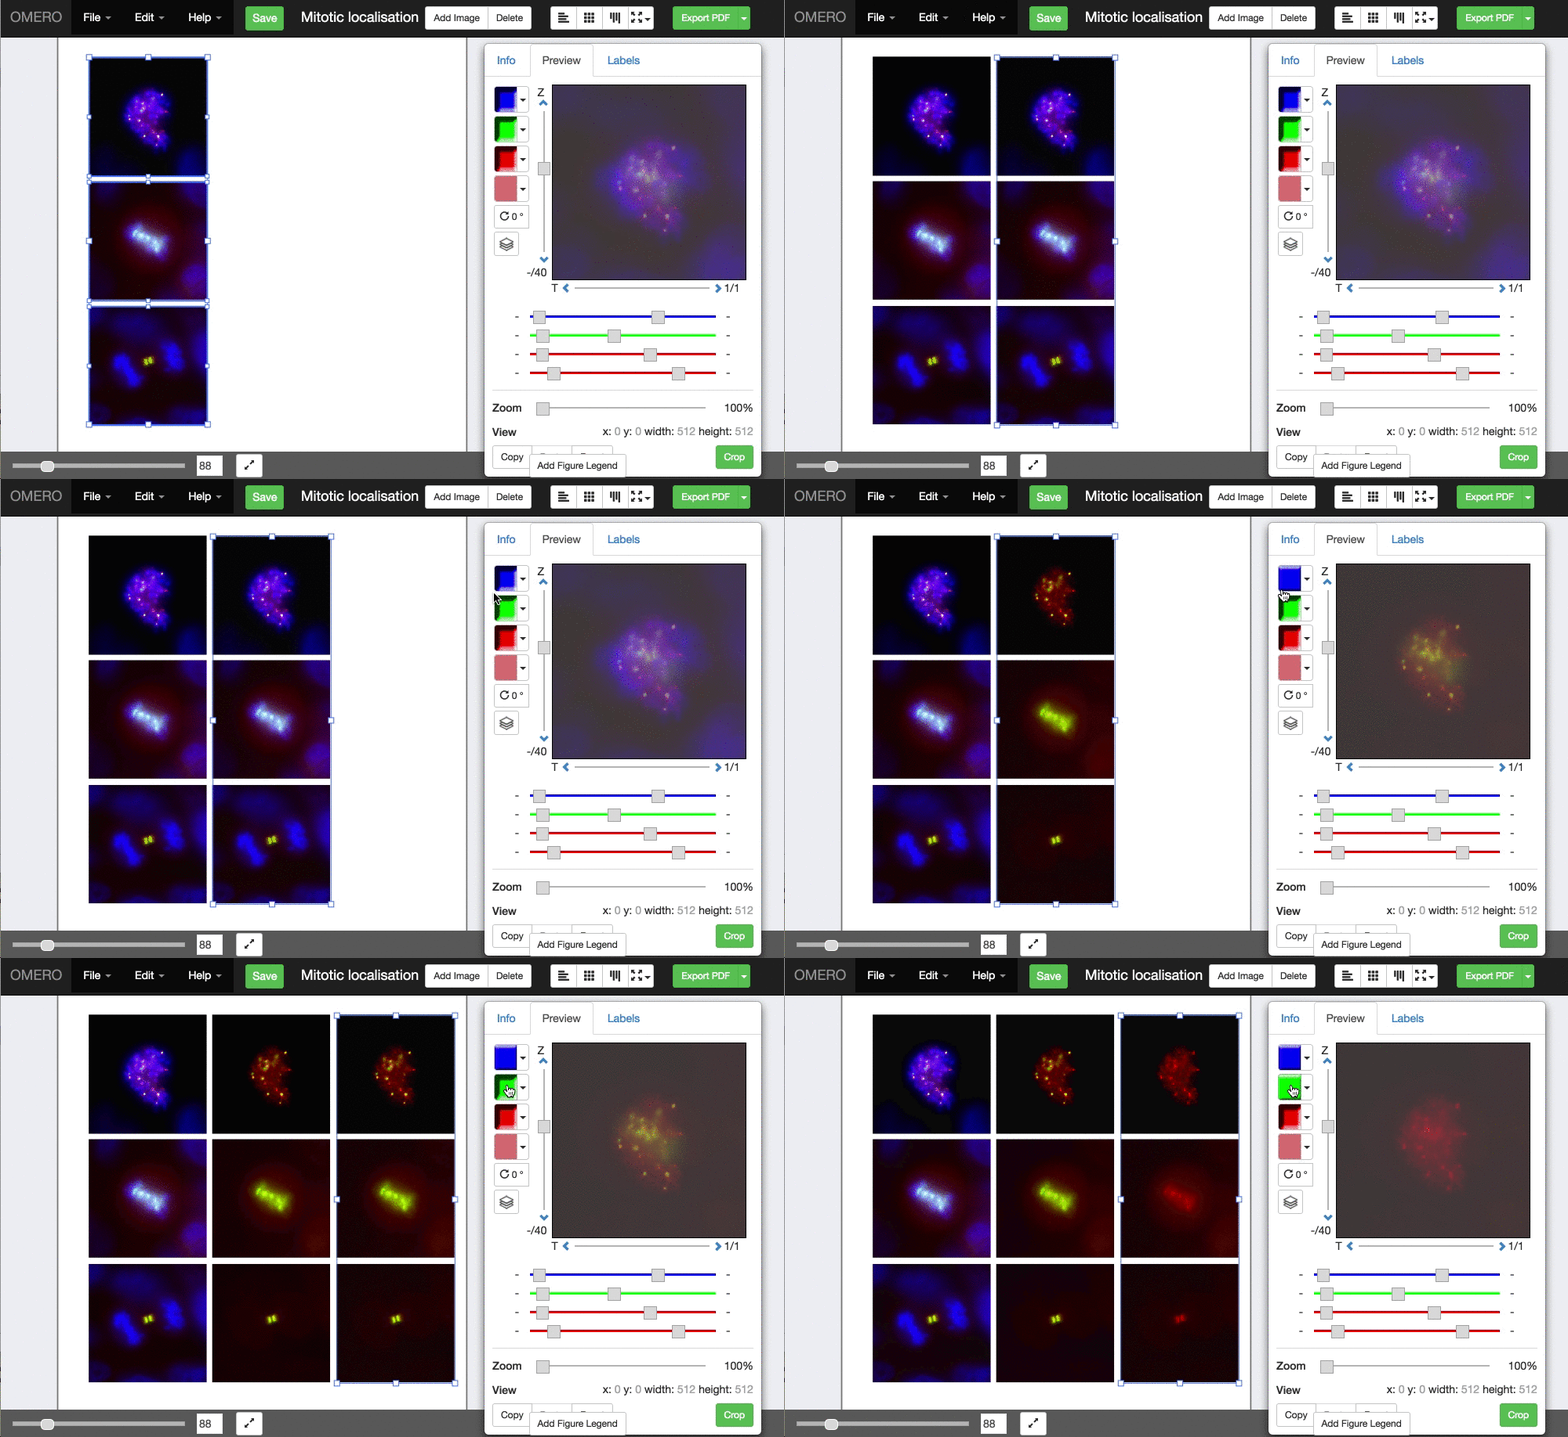
Given the commands above, I found that ffmpeg gave the smallest gif which is not really noticeable in the images above but I have noticed the difference elsewhere.
The other 2 options gave comparable results. Imagemagick is required for both and using the
convert command does everything in a single step. However, gifsicle does give a
lot of nice options if needed.
Next I’ll be comparing creation of gifs vv movies for OMERO.figure export as movie.